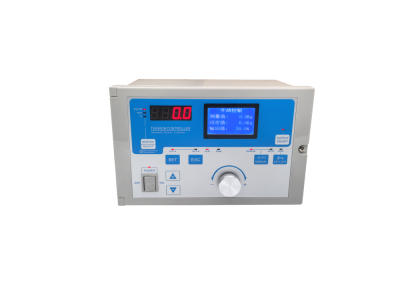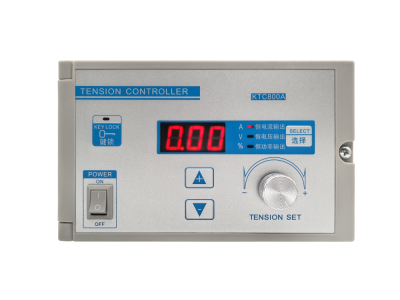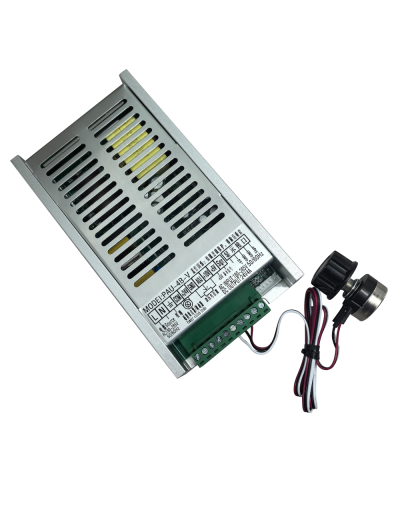
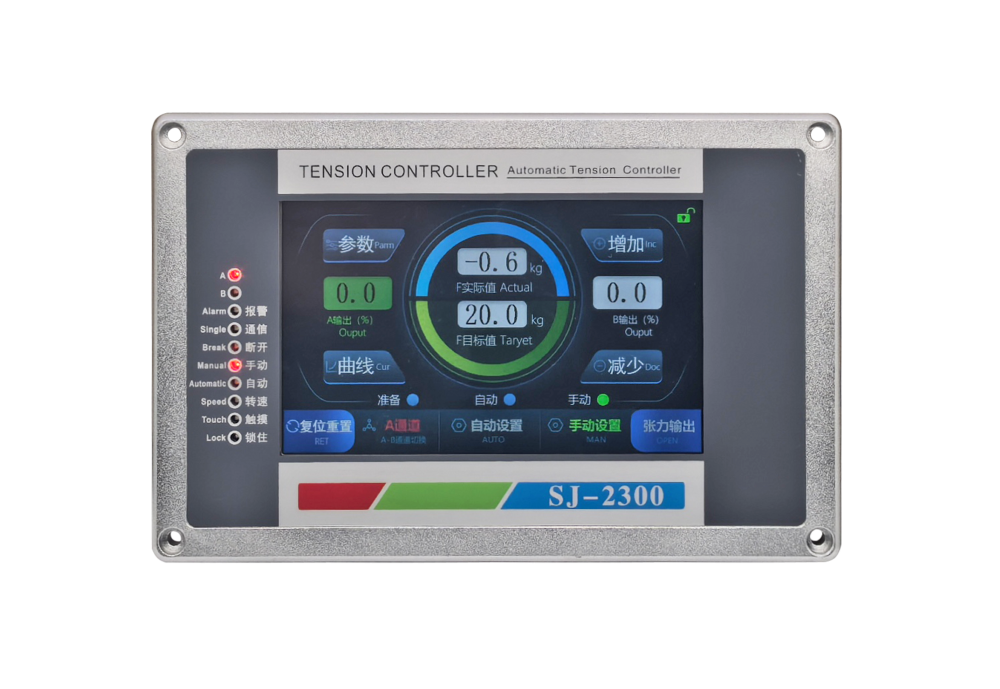
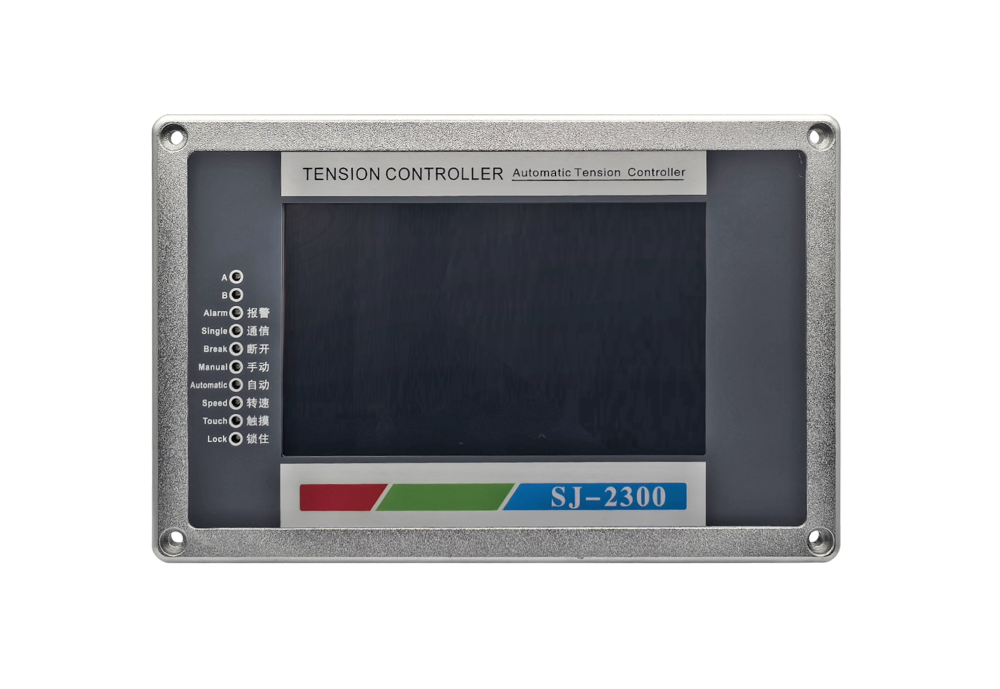
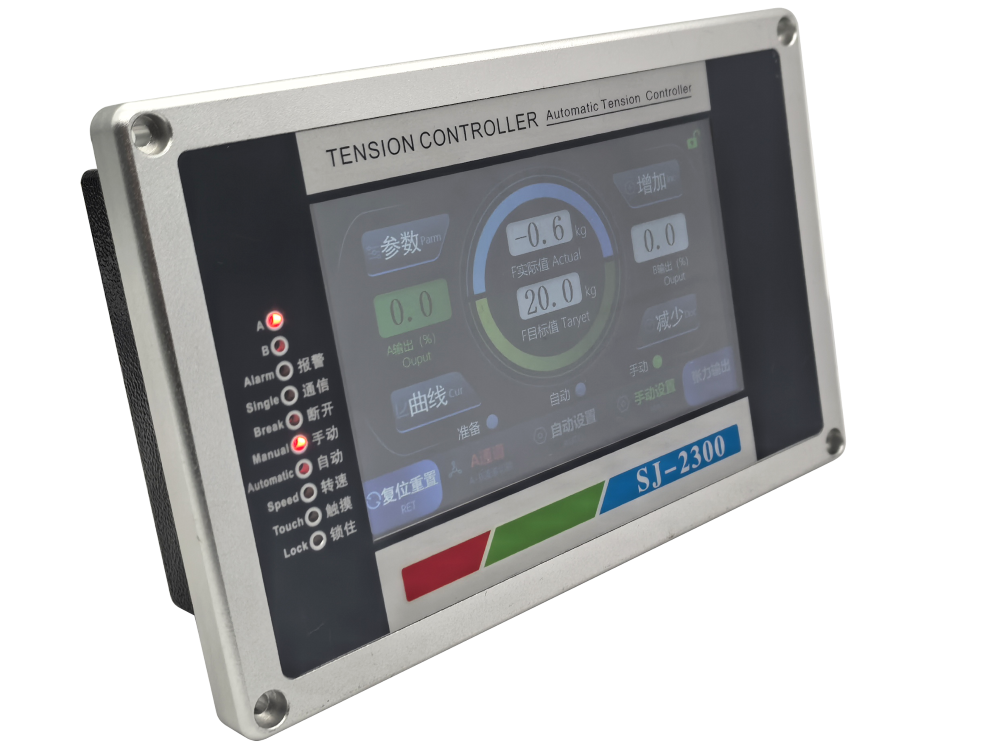
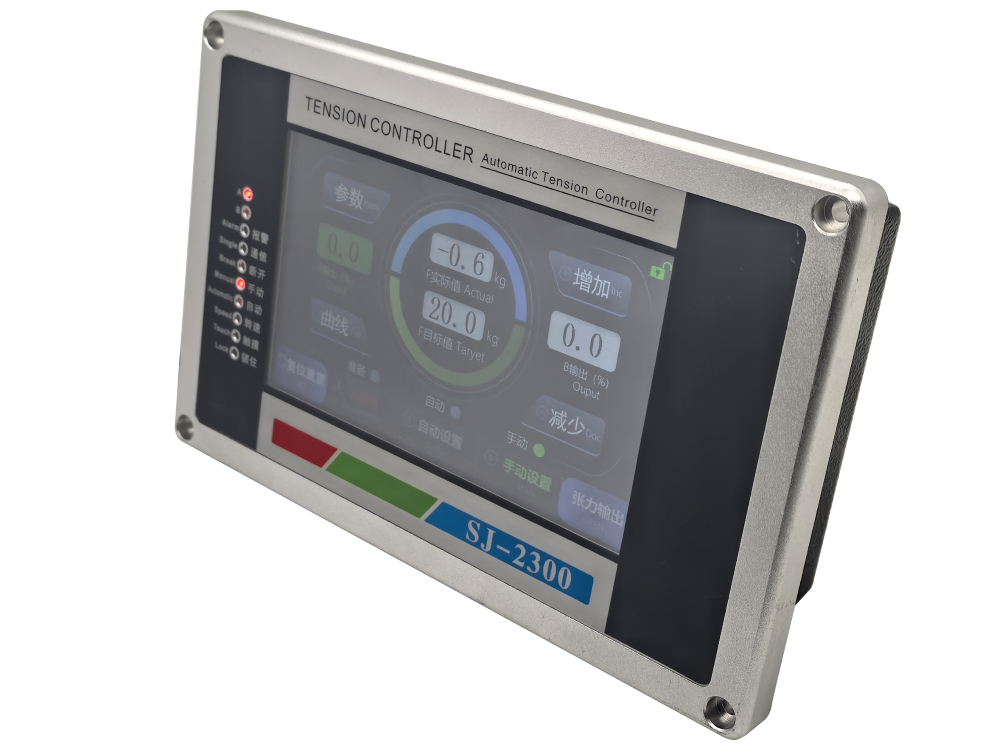
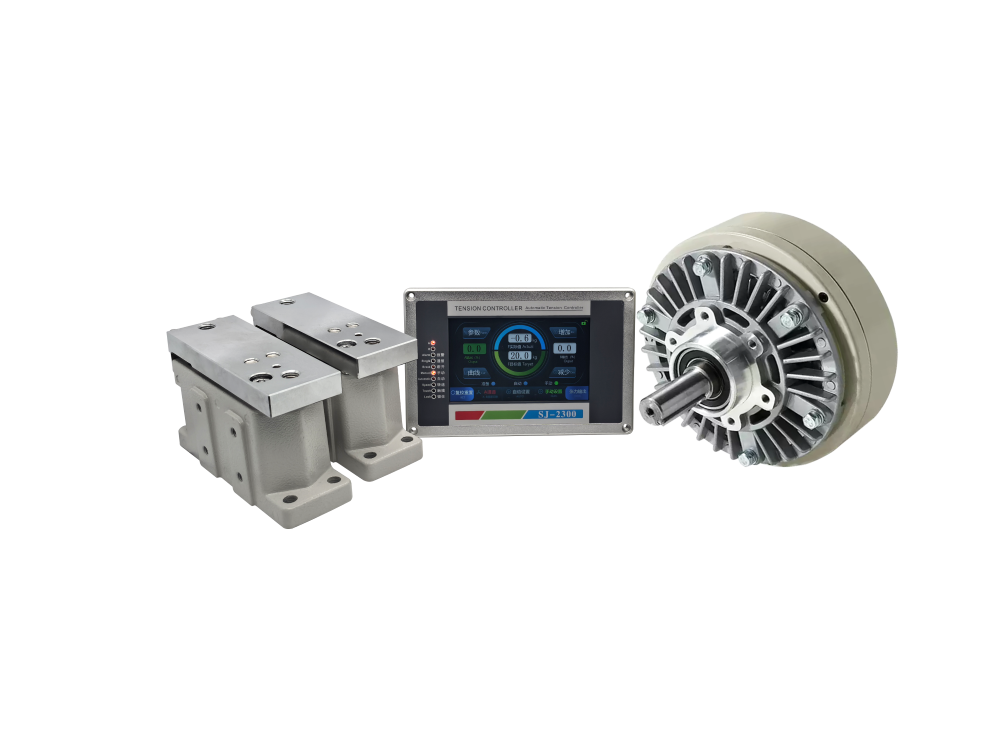
Automatic Digital Tension Controller with A/B Shaft Switching

High-Precision Closed-Loop Tension Control Solution for Unwinding and Rewinding Lines

получить цитату

получить цитату

Если у вас есть какие-либо вопросы о нашем ассортименте или услугах, пожалуйста, заполните контактную форму ниже, и мы свяжемся с вами в ближайшее время.
Делиться
  • Estimated Delivery:Aug 03 - Aug 07

  • Free Shipping & Returns: On all orders over $75

Product description
Shipping & Return
Digital Tension Controller

Automatic Digital Tension Controller with A/B Shaft Switching

High-precision closed-loop tension control solution for unwinding, rewinding, synchronous control and continuous roll material production lines.

This automatic digital tension controller is designed for industrial web material production lines that require stable, accurate and responsive tension control. With built-in PID calculation, closed-loop tension feedback, multi-actuator output compatibility, and intelligent A/B shaft switching, it helps improve winding quality, reduce tension fluctuation, and support efficient non-stop roll changing in high-speed production environments.

01
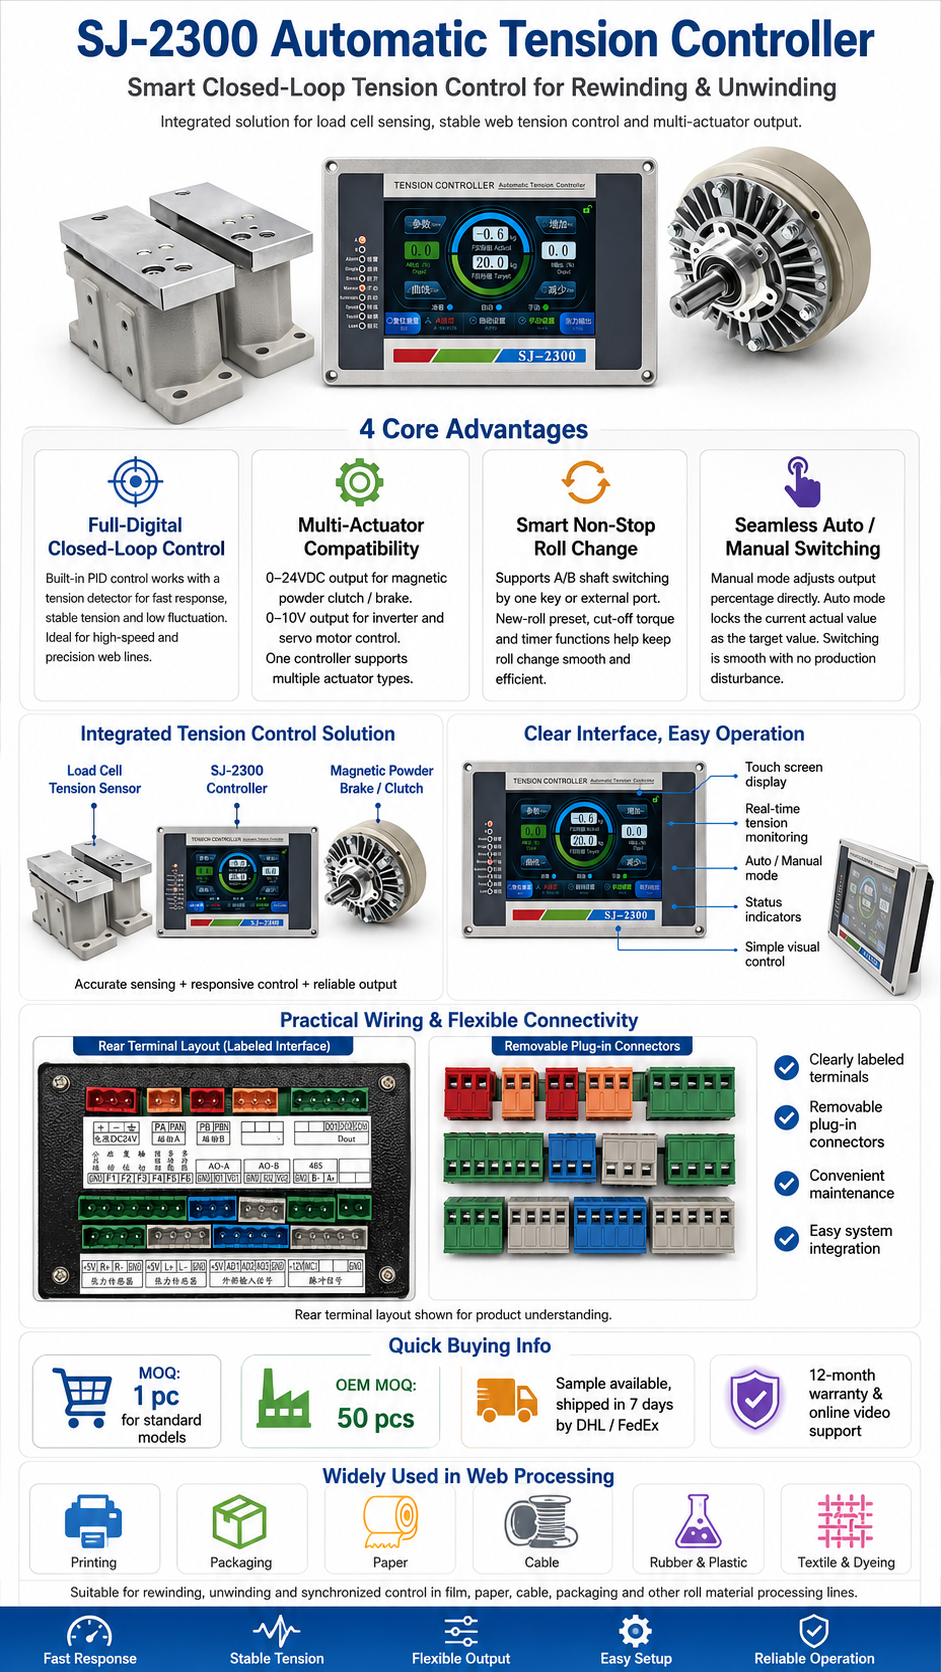
Digital Closed-Loop Control

Built-in PID calculation works with a tension detector to form a closed-loop control system, delivering fast response, stable tension and low fluctuation.

02
Multi-Actuator Compatibility

Supports 0–24VDC output for magnetic powder clutch or brake, and 0–10V output for inverter or servo motor control.

03
A/B Shaft Roll Switching

Supports one-key or external port switching between A/B shafts, with new roll preset, cutting torque and preset timer functions for smoother roll change.

04
Seamless Auto / Manual Mode

Manual mode directly adjusts output percentage, while automatic mode uses the current actual value as the target tension, enabling smooth switching without production disturbance.

Key Advantages
  • Full digital high-precision closed-loop tension control.
  • Stable tension output with fast response and small fluctuation.
  • Compatible with magnetic powder clutch, magnetic powder brake, inverter and servo motor.
  • A/B shaft switching supports smooth non-stop roll changing.
  • Automatic and manual modes switch smoothly without tension shock.
Application Fields
  • Printing and packaging roll material production lines.
  • Paper making, paper converting and rewinding systems.
  • Wire, cable, rubber and plastic production equipment.
  • Electronics, battery and composite material processing lines.
  • Textile dyeing, finishing and continuous web control systems.
Product Information
Product CategoryDigital Tension Controller / Web Tension Control System
Product NameAutomatic Digital Tension Controller with A/B Shaft Switching
Control TypeFull Digital Closed-Loop PID Tension Control
Output for Clutch / Brake0–24VDC
Output for Inverter / Servo0–10V
Roll SwitchingA/B Shaft One-Key Switching or External Port Switching
Roll Change FunctionsNew Roll Preset, Cutting Torque and Preset Timer
Operation ModeAutomatic / Manual Seamless Switching
Suitable ProcessUnwinding, Rewinding, Synchronous Control and Roll-to-Roll Web Processing
What is the minimum order quantity?

For standard models, the minimum order quantity is 1 piece. For OEM branding customization, the MOQ is 50 pieces.

Can you provide samples?

Yes, sample orders are welcome for quality testing. Samples can be shipped by DHL or FedEx within 7 days.

What is the warranty period?

We provide a 12-month warranty. If any component fails due to quality problems, replacement parts will be provided free of charge.

Do you provide technical support?

Yes, online video guidance is available for parameter setting and product operation support.

Stable Tension Control for Unwinding and Rewinding Applications

With digital closed-loop control, flexible actuator compatibility and intelligent A/B shaft switching, this controller provides a reliable solution for roll material tension control in high-speed and precision production lines.
Product FAQ
SJ2300 Tension Controller FAQ

Common questions and troubleshooting guidance for SJ2300 tension controller operation, sensor calibration, automatic control, wiring, alarms and quick setup.

01
Power-On & Operation Issues
What should I do if there is no display after power-on?
Check whether the DC24V power supply is connected correctly and whether the positive and negative terminals are reversed. Make sure the voltage is stable and the terminals are not loose, then power on the controller again for testing.
Why does the touch screen or button not respond?
Confirm that the controller is powered on. If the screen is locked, unlock it first. Restarting the controller can usually restore normal operation.
Why can’t I enter the parameter menu?
Press the “Parameter” key and enter the password 6789 to access the parameter menu.
02
Tension Display & Sensor Issues
What should I do if the tension display stays at 0 or does not change?
Check whether the sensor wiring for +5V, R+ / L+, R- / L- and GND is correct. Under no-material condition, enter “Sensor Setting” and perform zero adjustment. For dual sensors, select “Left & Right”. For a single sensor, select “Left” or “Right”.
Why does the tension value fluctuate or become unstable?
Enter the “Filter” setting and increase the input filtering time. Keep the sensor level at the default 0-30mV in most cases. Make sure shielding and grounding are properly completed, and confirm that the sensor is firmly installed.
Why is the tension inaccurate after calibration?
When there is no material on the sensor, perform zero adjustment first, then carry out full-scale calibration and save the settings.
03
Automatic & Manual Mode Issues
Why does manual mode work, but automatic mode does not?
After adjusting the tension manually, press the automatic key to enter automatic mode. If the tension is lower than the no-load judgment setting, the controller will not enter PID control. Also check whether the start mode is set to the F1 port or speed pulse.
What should I do if the tension fluctuates greatly in automatic mode?
Reduce the I value to avoid oscillation. Adjust the input and output filter values in the filter interface. Also check whether the machine vibrates or whether the roller is uneven.
04
Output & Actuator Issues
Why does the output stay at 0% or have no output?
Turn on “Tension Output”. If F1 + GND is not connected or there is no speed pulse, the controller will not start.
Why does the output keep increasing after the machine stops, causing material breakage after restart?
This is usually because the default start mode is set to button start, so the output does not stop when the machine stops. Change the start mode to F1 port start or speed pulse start.
What should I check if the magnetic powder clutch or brake does not work?
Check whether the magnetic powder A / B terminals are wired correctly. Increase the output percentage manually for testing, and check the magnetic powder unit and related wiring.
05
A/B Shaft Dual-Station Issues
Why is A/B shaft switching ineffective?
For button switching, directly tap A-B on the panel. For external switch control, select F3 port as the shaft switching method and connect F3 + GND.
What should I do if tension suddenly changes or slipping occurs during roll change?
Set the new roll preset value. Adjust the preset timer, cut-off torque and cut-off time. Properly extending the preset timer can help make roll change smoother.
06
Wiring Port Issues
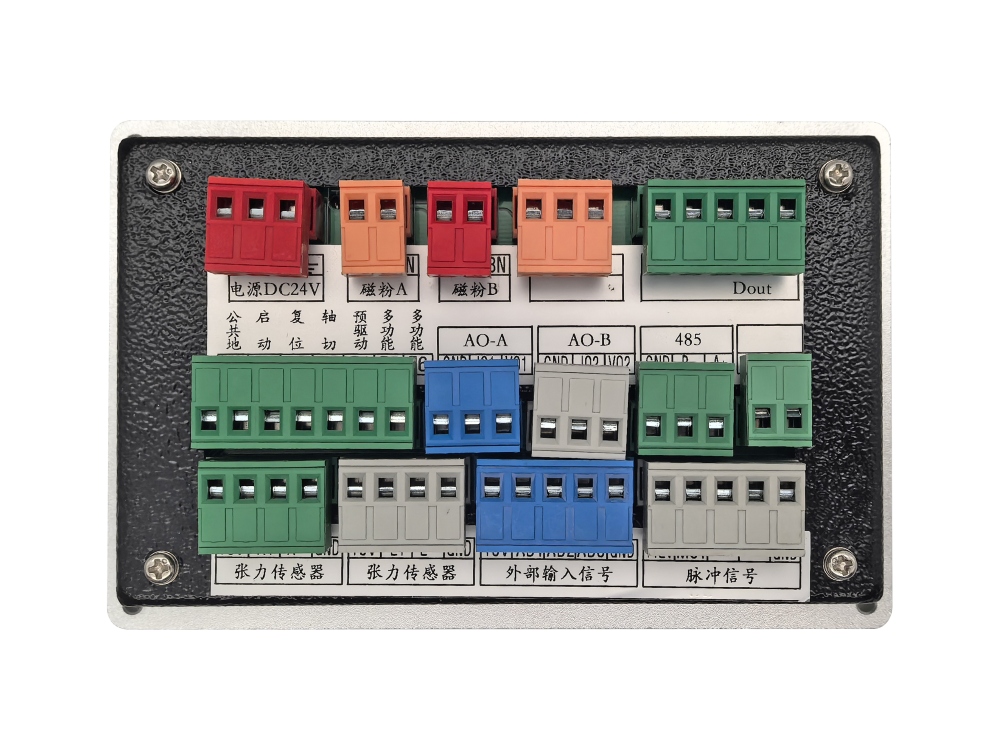
How should the F1 start port be wired?
Connect GND + F1 to the machine start-stop switch. When the machine starts, F1 is connected and the tension controller runs. When the machine stops, F1 is disconnected and the tension controller stops.
How should dual-channel sensors be wired?
  • Red: +5V
  • Green: R+ / L+
  • White: R- / L-
  • Black: GND / Shield
07
Alarm & Stop Issues
What should I do if a tension over-limit alarm occurs?
The upper limit value in the alarm menu may be set too low. Check whether the material is running off-track or whether the mechanical structure is jammed. Increase the upper limit properly or disable the alarm if necessary.
What should I do if the stop braking force is too large or too small?
Adjust “Stop Control” and change the stop gain. The stop time refers to the brake holding duration. The stop bias is normally kept at the default value of 0.
08
Quick Recovery & Standard Setup
How can I restore the controller if the parameters are incorrect?
Go to “System” and select system restore to return to factory settings. Then redo the basic setup: zero adjustment, full-scale calibration and start mode setting.
What are the standard quick setup steps?
  • Complete the correct wiring.
  • Without material, perform sensor zero adjustment.
  • Enter the total measuring range and complete full-scale calibration.
  • Set the start mode to F1 or pulse start.
  • Stabilize the tension manually, then switch to automatic mode.
Quick Setup Guide
Shipping cost is based on weight. Just add products to your cart and use the Shipping Calculator to see the shipping price.We want you to be 100% satisfied with your purchase. Items can be returned or exchanged within 30 days of delivery.

You Might Also Like

PAU-4B-V Split-Type Tension Controller
Precise, stable and easy-to-integrate tension control for magnetic powder clutches and brakes.

KDT-B Automatic Constant Tension Controller

High-Precision Constant Tension and Taper Control Solution for Winding and Unwinding Lines

Automatic Digital Tension Controller with A/B Shaft Switching

High-Precision Closed-Loop Tension Control Solution for Unwinding and Rewinding Lines

SJ-828 Automatic Tension Controller

Stable Tension Control Solution for High-Speed Roll-to-Roll Web Processing